General description of the application
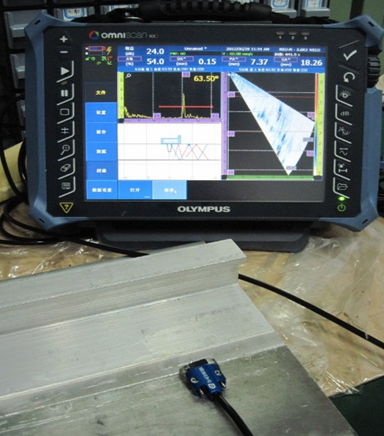
The friction stir welding (FSW) technique was developed as a method to join materials that are difficult to fusion weld such as aluminum alloys. The quality of the obtained weld is very high, tests show that there are no pores in the weld and the material structure is uniform. However, the process may generate small, tight defects that are hard to detect. The best method to inspect friction stir welds is to use the ultrasonic phased array technique. Because of the weld shape, raster scanning is impossible; but with phased arrays, inspection of the entire weld volume is done in a single-pass scan. Phased arrays also permit lateral scanning to detect transverse defects. Optimization of the inspection angle maximizes the probability of detection. The increased number of zones covered by phased arrays provides accurate flaw sizing and location. High speed, accuracy, and versatility make phased arrays the choice technique for FSW inspection.
 Typical inspection requirements Weld length: up to 40 feet Wall thickness: 3 to 15 mm (or more) Diameter range: 8 to 17 feet Material: aluminum (although this technology can be used on any material welded by FSW) Vertical or horizontal configuration Irregular weld shape hindering raster scanning Limited access space Coupling check required Fully automated inspection
Defects detected Description of the solution
One probe on each side of the weld for axial detection, plus a third probe for transverse detection Motorized positioning of the probe (weld centering) Inspection with 65° SW and 45° SW for axial defects Inspection with 45° SW refraction angle and skew angles of -30°, 0°, and 30° for transverse defects Electronic scanning of the beam for all configurations Whole inspection performed as a one-line scan (up to 70 feet) Coupling is performed with local immersion wedges
FOCUS 32:128, MCDU-02, and computer all enclosed in an air-conditioned cabinet Analysis and reporting using TomoView software
All of R/D Tech ultrasound products, whether using phased array, ultrasound, or EMAT, share the same data acquisition and analysis software. The | 


